The screen printing process has barely changed in a century, and that is part of its charm. A drawing becomes a stencil, the stencil becomes a screen, and ink is pushed through it onto a shirt by hand. This is how we do it in our Orlando studio, step by step, with the small decisions that make the difference between a good print and a great one.
What you need before the first pull
A print shop is simpler than people imagine. At its heart are a few tools:
- Screens: aluminum frames stretched with polyester mesh.
- Emulsion: a light-sensitive coating that turns the mesh into a stencil.
- A press: it holds several screens and lines them up over the shirt.
- Squeegees: rubber blades that push ink through the mesh.
- A dryer: heat that cures the ink so it lasts.
Everything else, from ink to tape, then supports those five.
Step 1: Separating the art
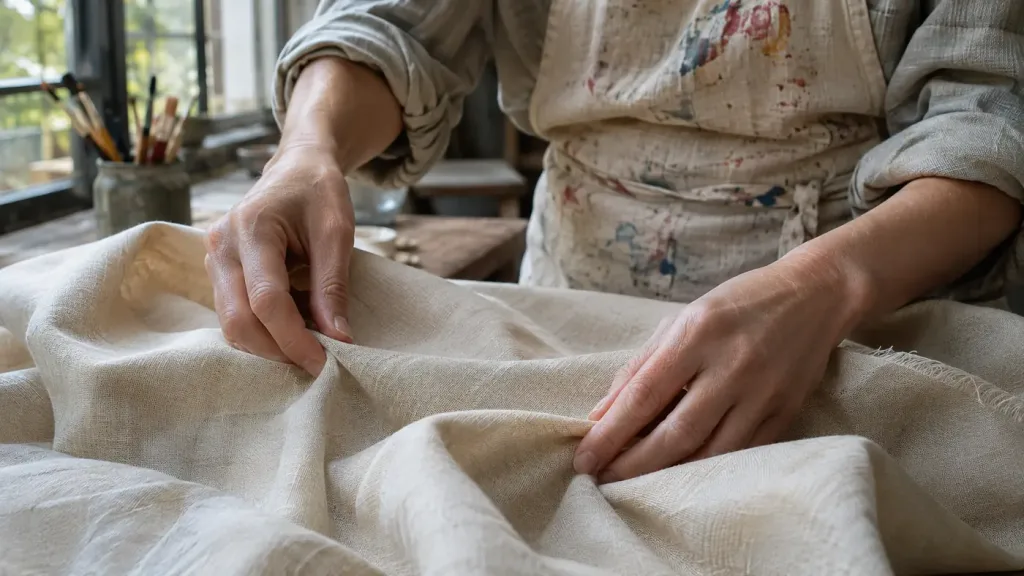
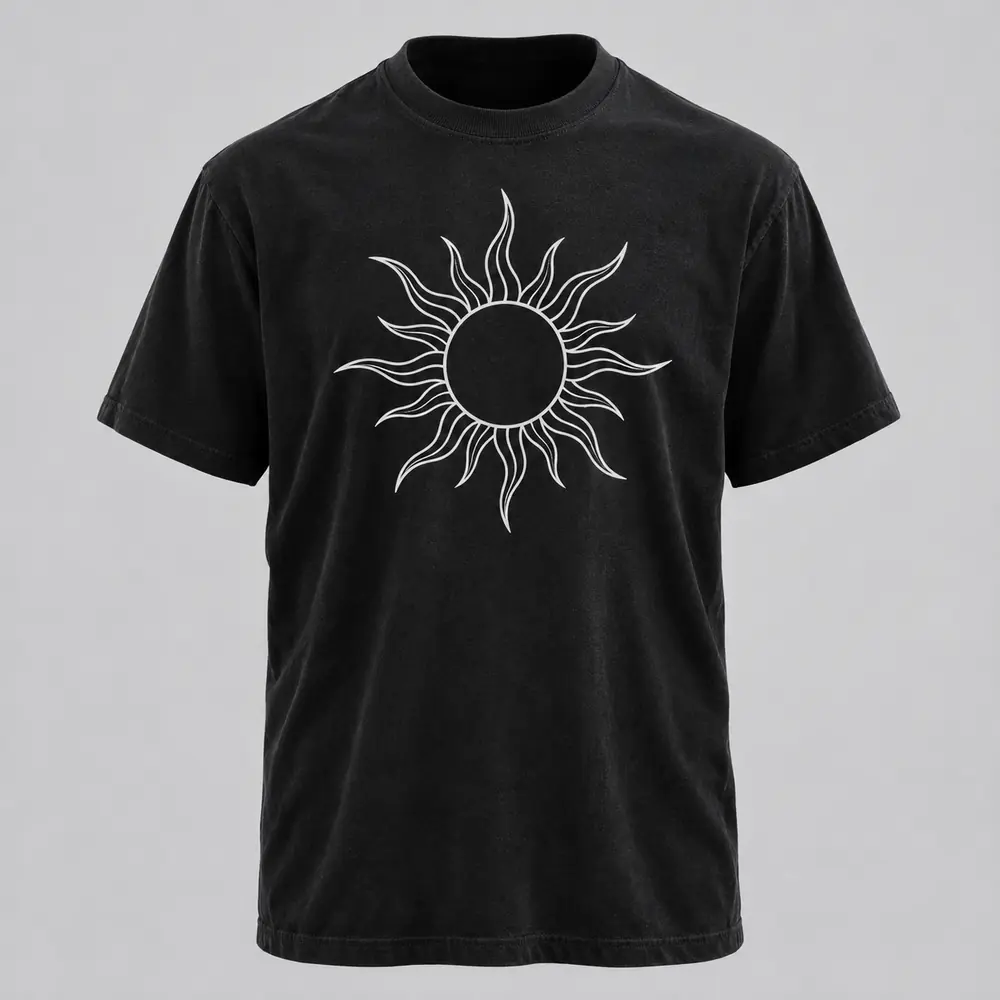
It all starts with your design. We split it into layers, one for each ink color, and print each layer as solid black on clear film. These are called separations. A two-color design has two films; a design on a black shirt might add a third for the white underbase.
This is also when we size the print and send you a proof. In fact, the proof is the most important step for you, because nothing past this point is easy to undo. Our artwork guide explains how to make this step quick.
Step 2: Coating and burning the screens
Next, we coat a clean screen with emulsion in a dim room and let it dry. Then we lay a film on it and expose it to strong light. Where the film is clear, light hardens the emulsion. Where the film is black, however, the emulsion stays soft.
After that, we rinse the screen with water. So the soft emulsion washes out and leaves an open stencil in the exact shape of that color. People call this “burning” a screen. One screen, one color.
Choosing the mesh
Mesh count, the number of threads per inch, decides how much ink passes through. For example, coarse mesh, around 110, lays down a thick layer for bold whites and underbases. Finer mesh, on the other hand, around 156 to 230, holds detail and suits water-based ink. Lawson’s guide to mesh counts goes deep if you are curious.
Step 3: Setting up the press and registration
Every screen goes onto the press, so they must line up perfectly. Otherwise colors overlap where they should not, or leave gaps. Lining them up is called registration, and it is why our logo is a registration mark.
First, we print a test on a scrap shirt or a sheet, check every edge, nudge the screens and print again. It is slow, careful work. Still, getting it right once means every shirt after it comes out right.
Step 4: Mixing the ink
Then we mix the ink. We match your colors by hand and compare swatches under daylight, because studio lights can lie. We also pick the ink type for the garment. For a light tee, that is often water-based; for a black hoodie, plastisol. See water-based vs plastisol for how we decide.
Step 5: The pull
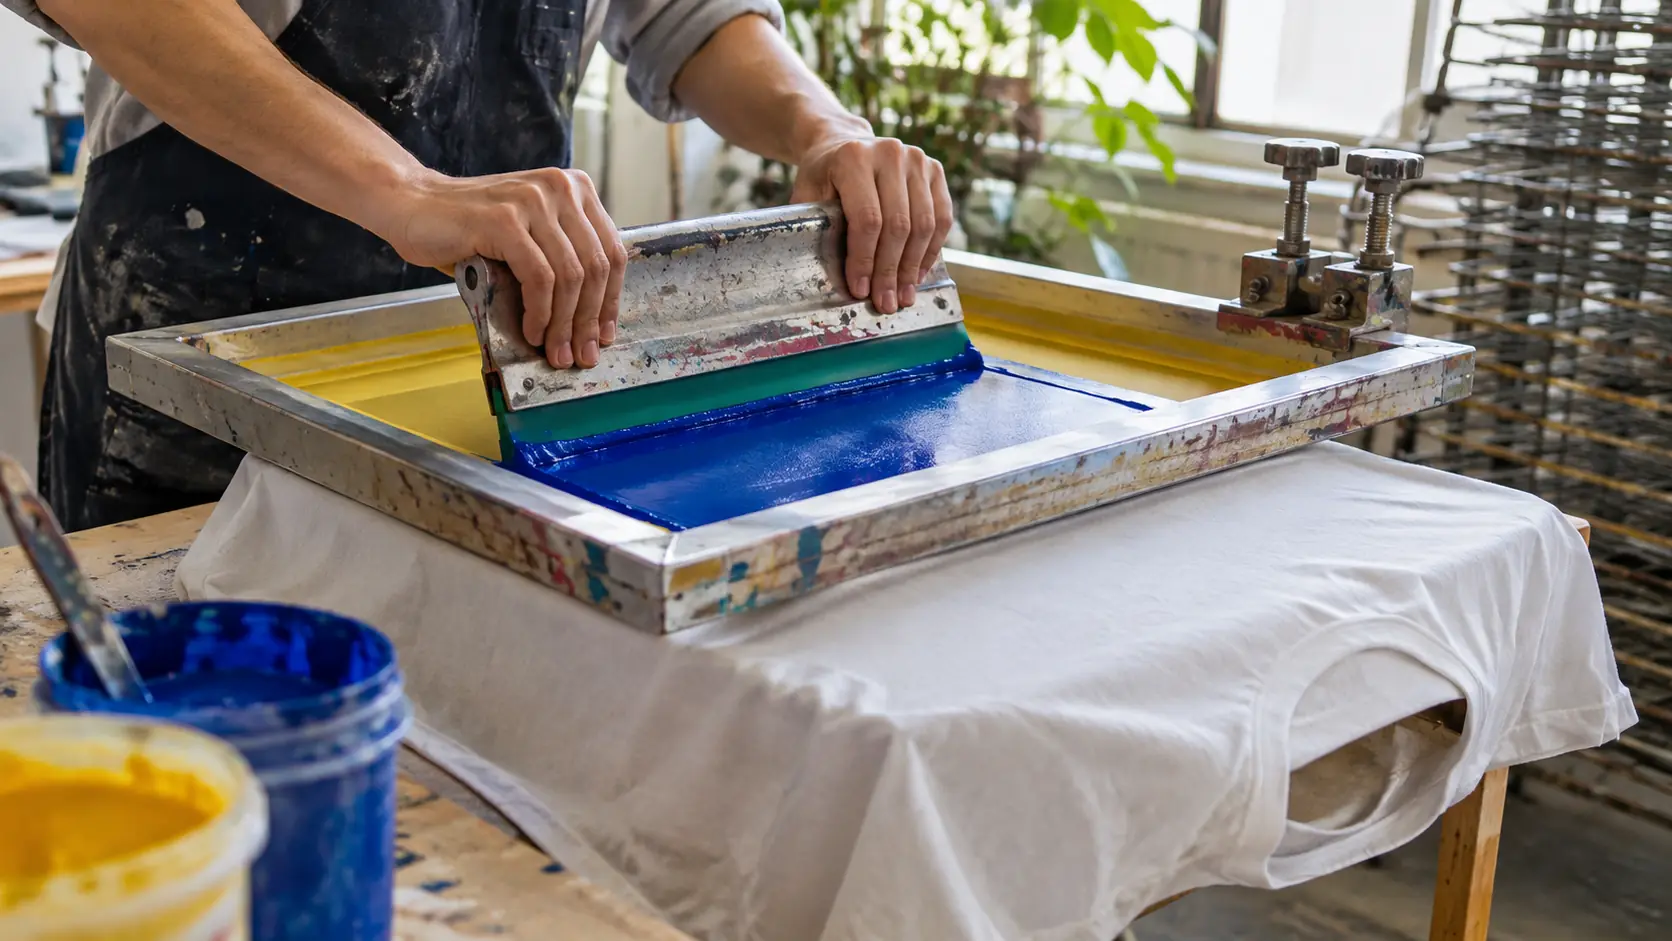
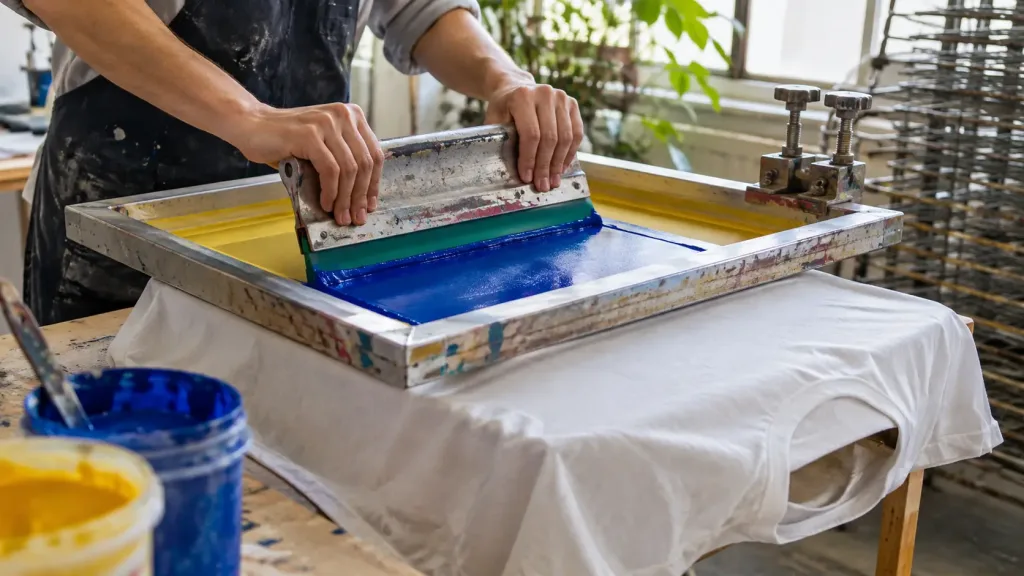
This is the part everyone pictures. We lower the screen onto the shirt, flood it with ink, and pull the squeegee across in one steady stroke. The ink then passes through the open stencil and onto the fabric.
The pull is where hand printing earns its name. That is because angle, pressure and speed all change the print. Too soft and the ink sits on the mesh. Too hard and it spreads. Over time, you learn to feel it, and you adjust for each garment. Fleece takes a different pull than a thin tee.
Flashing between colors
When colors stack, like white under orange on a black shirt, we briefly flash the first layer with a heat lamp. That sets it just enough so the next screen does not smear it. Then the next color goes on top.
Step 6: Curing
A print is not finished until it is cured. Each shirt rides through a conveyor dryer so the whole ink layer reaches its cure temperature. For standard plastisol, that is around 320°F, according to ScreenPrinting.com. Water-based ink needs its water driven out first, then heat.
Skipping or rushing this step is the most common reason prints crack or wash out. So we test cured prints by stretching them. After all, a good cure stretches and recovers without cracking.
Step 7: Checking, folding and shipping
Finally, we check every piece in daylight, fold it and pack it in kraft. Then it ships, tracked, to Orlando or anywhere else in the world. Our shipping page lists times and costs.
Why the screen printing process rewards bigger runs
Look back at steps 1 to 4. In fact, all of that work happens once per design, no matter how many shirts follow. That is why the screen printing process gets cheaper per piece as the run grows, and why our custom runs start at 12. The full math is in how much screen printing costs.
What can go wrong, and how we catch it
Every step in the screen printing process has a classic failure. Knowing them is how we avoid them.
- Pinholes in the screen. Tiny gaps in the emulsion print as specks. We hold every screen to the light and tape or touch them up.
- Out-of-register colors. Gaps or overlaps between colors. Test prints catch this before the run.
- Ink drying in the screen. Common with water-based ink in dry air. We keep screens flooded and work steadily.
- Under-curing. Prints that look fine but wash out. We check dryer temperature and stretch-test prints.
- Smearing between colors. Fixed by flashing the first layer before the next one lands.
None of these are exotic. Still, they are the everyday details that separate a good print shop from a careless one.
Hand pulled vs automatic presses
For example, large factories print on automatic presses that pull every color with motors. They are fast and consistent, and they make sense for tens of thousands of shirts. We pull by hand. That is slower, but it lets us adjust the stroke for each garment, run small batches without waste and watch every print as it happens. For runs of a dozen to a few hundred, hand printing is a strength, not a compromise.
The screen printing process in one table
| Step | What happens | Who it is for |
|---|---|---|
| Separations and proof | Design split into colors; you approve a mockup | You and us |
| Burning screens | One stencil per color | Studio |
| Registration | Screens aligned on the press | Studio |
| Mixing ink | Colors matched by hand | Studio |
| The pull | Ink pushed through each screen | Studio |
| Curing | Heat makes the print last | Studio |
| Packing | Checked, folded, shipped | You again |
See it for yourself
If you want your design to go through this process, send it through our custom run form. You will get a proof first, and then a box of shirts that went through every step above by hand.
Questions about the process
How long does screen printing take?
Most of our custom runs ship 7 to 10 working days after you approve the proof. Larger runs can take 10 to 14 working days.
Why is there a minimum order?
Separating the art, burning screens and registering the press happen once per design, so the setup only pays off over a run. Our minimum is 12 pieces.
What is registration in screen printing?
Registration is lining up every screen on the press so each color lands exactly where it should, without gaps or overlaps.
What does curing do?
Curing heats the whole ink layer to its cure temperature so it bonds and becomes durable. Under-cured prints are the ones that crack or wash out.